Step 1
Stop the water source if safe
Shut off the main water valve or close the supply line to the failing fixture. Only do this if you can reach it without standing in water near outlets.
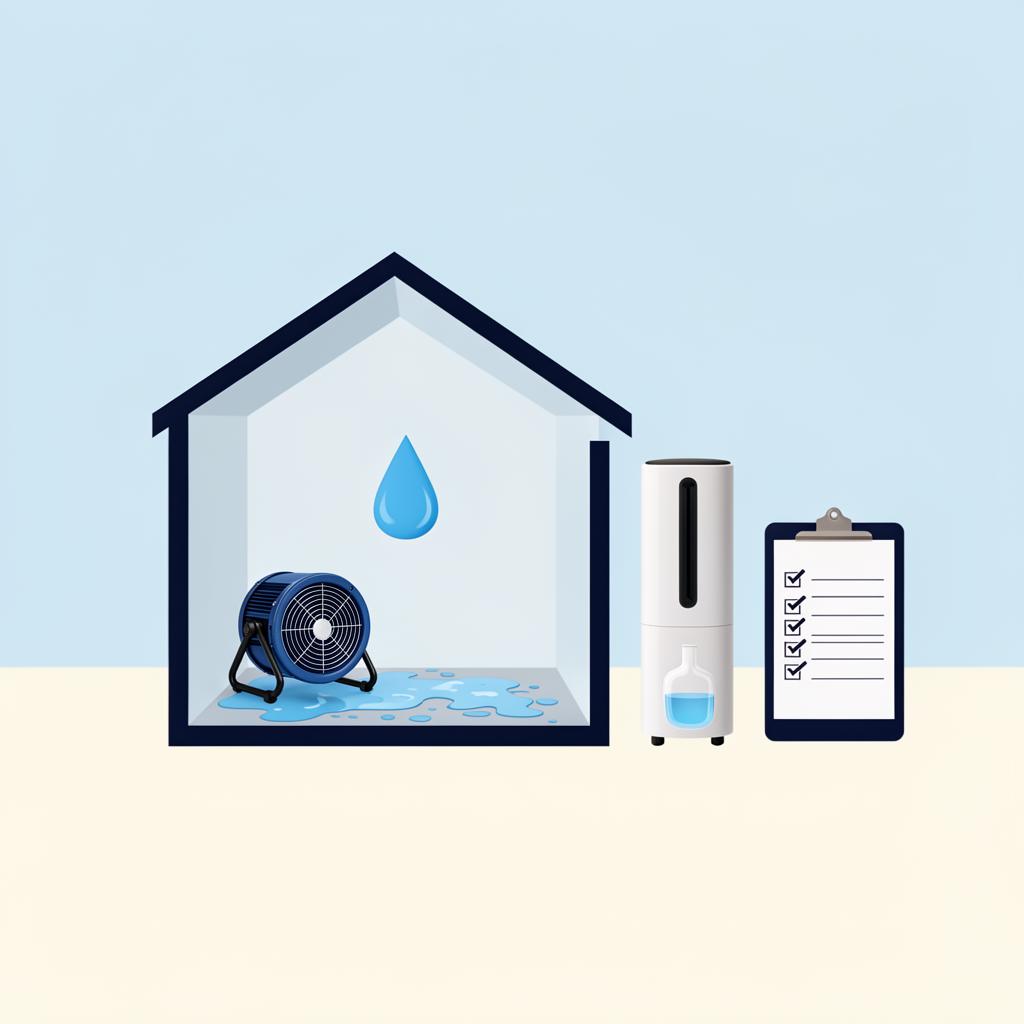
Water mitigation is the first response after a leak, flood, burst pipe, or sudden water damage in a home. This page explains what water mitigation means, what water mitigation services usually include, what affects water mitigation cost, how the process works step by step, and how to compare local water damage companies before signing anything.
Overview
A short, plain-English definition before we get into emergency steps, cost factors, and process detail.
Water mitigation is the process of reducing further damage after water enters a home. It usually includes stopping the water source when it is safe, removing standing water, checking moisture levels in floors and walls, drying affected materials with commercial equipment, documenting the work, and preparing the property for restoration or repair. People also call this water damage mitigation or, in some regions, water remediation.
Mitigation is different from restoration. Mitigation stops damage and dries the structure. Restoration is the repair phase that follows, including drywall, flooring, painting, and finish work. For a plain English explainer, see what is water mitigation. Knowing the difference helps you understand what a written scope actually covers and what is invoiced separately.
| Term | What it covers | When it happens |
|---|---|---|
| Water mitigation | Stop further damage and dry the structure. | Immediately after the water event, before repairs. |
| Water restoration | Repair or rebuild damaged materials. | After mitigation, once the structure is dry. |
| Water remediation | Often used as a synonym for mitigation; sometimes includes mold remediation when contamination is involved. | Used when contamination or microbial growth is a factor. |
Emergency steps
A short sequence that helps homeowners protect people, property, and documentation in the first hour after a leak or flood. The goal is calm, useful action, not panic.
Most homeowners only deal with serious water damage once or twice. The first hour matters because it shapes safety, the cost of the job, and the quality of your documentation later. Move through the six steps below in order and skip any that do not apply.
Shut off the main water valve or close the supply line to the failing fixture. Only do this if you can reach it without standing in water near outlets.
Do not enter standing water near outlets, panels, or appliances. If water is near electrical equipment, cut power at the breaker only if the panel is dry and accessible.
Document every wet area, damaged surface, and affected item before cleanup begins. Capture wide shots and close-ups for your records and any future claim.
Lift rugs, electronics, important paperwork, and small furniture out of the wet zone. Place foil or wood blocks under furniture legs that must stay in place.
Review your policy and call your insurer when damage looks significant. Ask what to document and whether you need approval before hiring a mitigation company.
For active or large water damage, contact a licensed water mitigation company in your area. Confirm licensing, insurance, and a written scope before work begins.
Cost
Estimates vary based on property, water category, materials, equipment, and location. The factors below are what move the number on a real written scope.
No two losses price the same and we will not invent dollar figures here. Instead, the goal is to give homeowners the variables to look for on any quote. When you understand what drives water mitigation cost, it is easier to compare two written estimates fairly and recognize when a number is unusually high or unusually low.
Clean water from a supply line costs less to mitigate than gray water from appliances or black water from sewage and outdoor flooding.
Pricing usually scales with the dry area. A single bathroom is far cheaper than a finished basement or multiple rooms on more than one floor.
Longer dwell times mean deeper saturation, more secondary damage, and a higher chance of microbial growth, which increases the scope of work.
Engineered hardwood, plaster, and finished basement materials are harder to dry and more often need controlled demolition than tile or concrete.
Daily equipment counts for air movers, dehumidifiers, and air scrubbers drive a meaningful share of the total invoice, alongside monitoring visits.
Detailed moisture logs, photos, and line-item scopes help claims process faster. Missing documentation can delay payment or reduce coverage.
Suspected mold or category 3 water adds containment, PPE, antimicrobial treatments, and additional disposal that raise the project cost.
| Factor | Why it matters | What homeowners should ask |
|---|---|---|
| Water category | Drives PPE, disposal, and antimicrobial steps. | Which category is this loss, and how did you decide? |
| Affected area | Materials and equipment scale with square footage. | How many rooms and which materials are wet? |
| Dwell time | Longer exposure deepens damage and microbial risk. | How long do you think the water sat before extraction? |
| Materials | Some assemblies dry in place; others must be removed. | What will be dried in place versus removed? |
| Equipment plan | Daily equipment counts move the invoice noticeably. | How many air movers and dehumidifiers, for how many days? |
| Documentation | Cleaner records mean smoother insurance claims. | Will I receive daily moisture logs and photo records? |
Answer a few questions about water source, category, affected area, materials, and timing to see whether your situation points to lower, medium, higher, or highest cost pressure. Educational only, not a quote.
Use the Water Mitigation Cost EstimatorServices overview
A typical scope of work from a licensed water mitigation company. Not every job needs every service. A written scope should explain exactly what is included.
Water mitigation services usually combine inspection, extraction, structural drying, dehumidification, and documentation. Some companies also handle controlled demolition of unsalvageable materials. The exact mix depends on water category, materials, and how quickly the home was reached.
A walk-through to identify the water source, affected materials, and the category of water involved before scoping the work.
Removal of standing water with truck-mounted or portable extractors, often the first physical step on site after the inspection.
Use of pin and pinless meters and thermal imaging to map wet materials and set drying goals based on dry standard readings.
Air movers placed on a planned pattern to evaporate moisture from floors, walls, and cavities once standing water is removed.
Commercial dehumidifiers that pull moisture out of the air so it does not redeposit into building materials during drying.
Controlled demolition of unsalvageable drywall, baseboards, insulation, carpet pad, or cabinetry, documented with photos.
Daily moisture logs, equipment counts, photo records, and a written scope that helps both you and your insurer.
A defined endpoint where the structure is dry to standard and ready for the repair or rebuild phase by a restoration contractor.
Process
A six-step view of the water mitigation process most homeowners will see on a residential loss. For the full step-by-step guide, see the water mitigation process page.
A technician identifies the water source, classifies the water category, and maps the affected area to scope the rest of the work.
Standing water is removed first with extractors. This is usually the most visible and fastest stage of the project.
Pin and pinless meters and thermal imaging document where moisture has migrated, which sets the drying plan and equipment count.
Air movers and dehumidifiers are placed on a deliberate pattern. The goal is to evaporate moisture and capture it before it redeposits.
Daily readings track progress against a dry standard. Logs, photos, and equipment counts support the invoice and your insurance claim.
When the structure meets dry goals, the project hands off to a restoration contractor for repair, replacement, and finish work.
For the full step-by-step guide, see the water mitigation process page.
Mitigation vs restoration
The two phases that homeowners often hear about, in plain language.
Mitigation stops damage and dries the structure. Restoration repairs or rebuilds damaged materials after drying is complete. Many homeowners hire two different companies, or one company that invoices the two phases separately.
Knowing where mitigation ends matters when reading a scope or a claim. Once the home reaches the documented dry standard, the mitigation phase wraps and the restoration phase begins.
For a side-by-side breakdown of what each phase includes, which comes first, and how the scope should be separated on an estimate, see the water mitigation vs restoration guide, or read the full water damage mitigation overview.
Insurance
Homeowners insurance can cover sudden and accidental water damage. Strong documentation makes the claim move faster and reduces friction with the adjuster.
Most homeowners only experience a serious water loss once or twice. The carrier handles thousands every week. A short prep step before the first phone call helps the conversation go better and keeps documentation consistent from day one.
Our Insurance Checklist walks through the same flow in more detail, including a printable sequence for the first 30 minutes.
Local help
We do not provide local service, dispatch crews, or maintain a paid directory. We publish the questions that make comparison shopping easier.
A short slice of our Contractor Checklist. Use it as a starting point when calling local companies for the same loss.
When a loss is contained and you have a few hours, compare two or three local water mitigation companies on the same scope. Ask each for a written estimate, equipment plan, and a clear answer on how they coordinate with insurance. Companies that resist putting things in writing tend to be the ones homeowners regret later.
For active emergencies, focus less on shopping and more on licensing, response time, and willingness to share daily moisture readings while the job is in progress.
Learn what a water mitigation company usually does, see how to vet water mitigation companies near me, and read the water mitigation near me guide for safer local search steps.
| Question to ask | Why it matters |
|---|---|
| Are you licensed or registered where required? | Some states and cities require specific licensing for water damage work. |
| Will I receive a written estimate? | A written scope protects both sides and lines up with insurance review. |
| Do you record moisture readings? | Logged readings show the structure actually reached a dry standard. |
| Who talks to the insurer? | Roles should be clear so nothing falls between you, the company, and the adjuster. |
| What is excluded from the scope? | Knowing what is not included prevents surprise charges or coverage gaps. |
Resources
The trust pages, checklists, and policy documents that ground everything we publish.
What this site covers, who it is for, and how we approach homeowner education on water mitigation.
Learn morePractical questions to ask any local water damage company before you sign a work authorization.
Learn moreHow to document damage, prepare for an adjuster visit, and avoid the most common claim mistakes.
Learn moreWho is behind Water Mitigation Hub, what we do, and what we are intentionally not.
Learn moreOur standards for accuracy, sourcing, corrections, and keeping content separate from advertising.
Learn moreImportant notes on the limits of informational content and when to involve a licensed professional.
Learn moreFAQ
Short answers to the questions homeowners ask most often when they first land on the site.
Get started
Read the emergency sequence, understand what drives cost, and walk into any contractor or insurance conversation with the right questions ready.